LiveDeskCal is a lightweight, always-on-top desktop calendar designed for Windows users who want fast, seamless scheduling without the clutter. Whether you’re using the Free, Lite, or Pro version, this guide walks you through installation, registration, syncing, and advanced settings to help you get the most out of your calendar.
Install LiveDeskCal
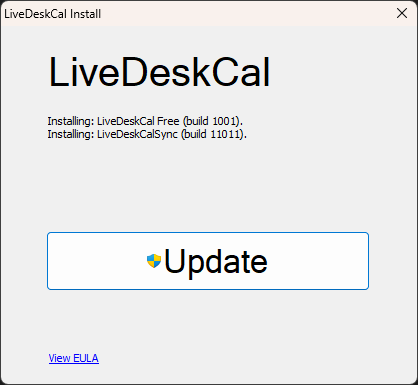
- Install the latest version of LiveDeskCal. Click Here to install.
- Launch the program and click Show!
Check the guides below for Registration (Lite and Pro), Advanced Settings and setting up Sync if you are using the Lite or Pro versions of LiveDeskCal.
Downloads:
Register LiveDeskCal (Lite and Pro)
If you are using the free version there is nothing else to do once you are installed! For the Lite and Pro Versions:
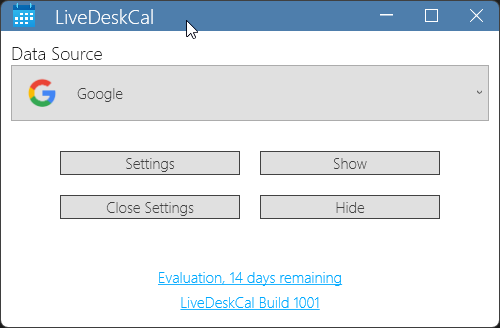
- Open the LiveDeskCal Settings.
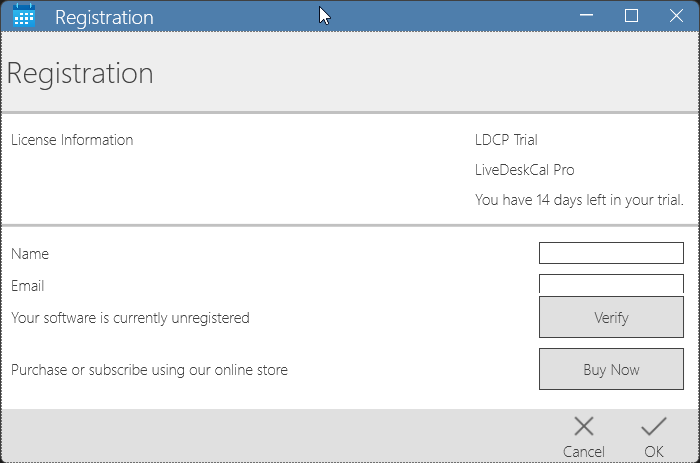
- Click the blue Evaluation Text at the bottom.
- Enter the Name and Email you purchased with and click Verify!
That’s it! You now have a Live Desktop Calendar you can use to view and create local events, set alarms, add category colors. For Details on Setting up Sync with LiveDeskCal Lite or LiveDeskCal Pro, see the following Guides.
Setup LiveDeskCal Lite
LiveDeskCal Lite supports a Sync with Google Calendar or a Sync with Office 365\Exchange Accounts.
- Sync with Google
- Sync with Office 365\Exchange
Click Here for the Setup Guides for LiveDeskCal Lite.
Setup LiveDeskCal Pro
LiveDeskCal Lite supports a Sync with Google Calendar or a Sync with a huge selection of CRM’s:
- Sync with Palm Desktop
- Sync with Time and Chaos
- Sync with Outlook Classic (Local Outlook)
- Sync with Act!
- Sync with Act! Premium Cloud
- Sync with Goldmine
- Sync with DejaCloud
- Sync with HCL Notes\IBM Locus Notes
- Sync with Salesforce
- Sync with Zoho CRM
- Sync with monday.com
- Sync with Thunderbird
- Sync with HubSpot
- Sync with Office 365\Exchange
Click Here for the Setup Guides for LiveDeskCal Pro.
Advanced Settings
To access the Advanced Settings:
- Open the LiveDeskCal Settings.
- Click the the Settings Box
If you ever need to hide LiveDeskCal click the Hide button.
Settings Tabs:
Holiday Tab – LiveDeskCal comes with some built in Holiday Calendars. Under the Holidays Tab you can enable any number of Holiday Calendars you want to be displayed.
Category Tab – In the Category Tab you can setup Categories and assign them colors. This allows you to set Categories on Events for a colorful view!